Proxmox 7 - Activating LVM volumes after failure to attach on boot
self-hosted, proxmox
I had an issue with Proxmox 7 (kernel version 5.11) where the LVM volumes don’t get activated properly at boot. Therefore to attach them, I have to manually do it after boot.
The Fix
1.) Find “active” volumes.
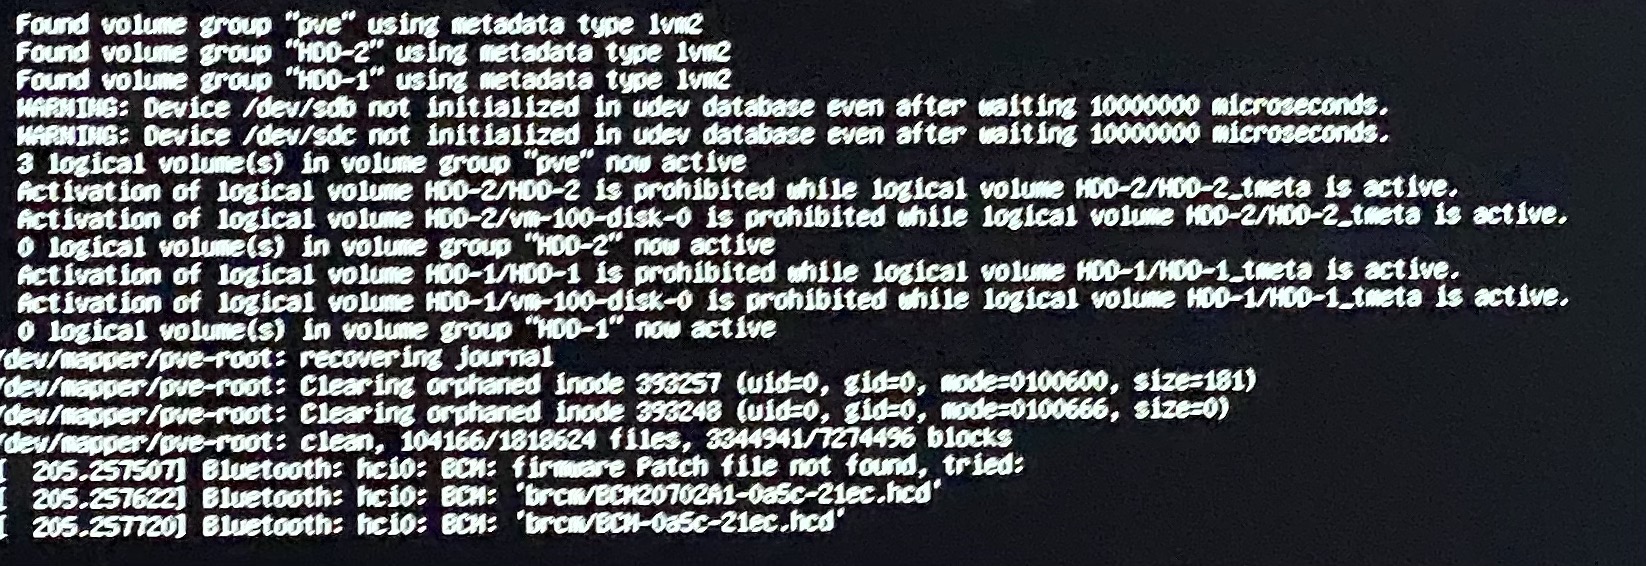
vgchange -ay, will list active volumes and volumes it can’t activate- will probably have meta and data volume active only (may only show one at a time). Example shown below.
Activation of logical volume HDD-1/HDD-1 is prohibited while logical volume HDD-1/HDD-1_tmeta is active.
Activation of logical volume HDD-1/vm-100-disk-0 is prohibited while logical volume HDD-1/HDD-1_tmeta is active.
- or use
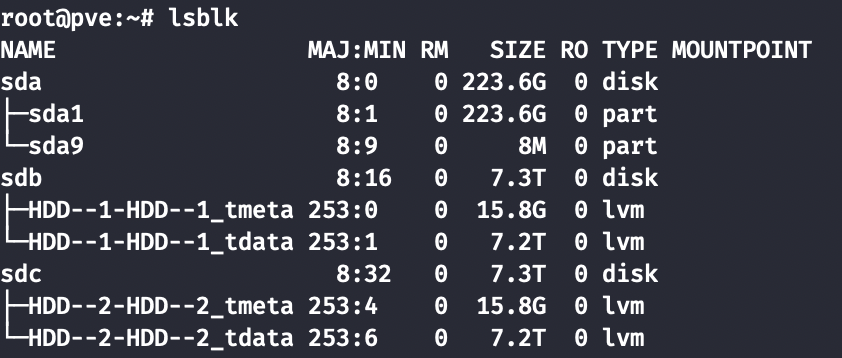
lsblkto view the volumes too (just change the volume text formatting to match how lv2 needs to see it e.g. “HDD—1-HDD…” to “HDD-1/HDD…”), below shows a glipse of how it looks in the terminal.
root@pve:~# lsblk NAME MAJ:MIN RM SIZE RO TYPE MOUNTPOINT sda 8:0 0 7.3T 0 disk ├─HDD--1-HDD--1_tmeta 253:0 0 15.8G 0 lvm └─HDD--1-HDD--1_tdata 253:1 0 7.2T 0 lvm- will probably have meta and data volume active only (may only show one at a time). Example shown below.
2.) Deactivate the current active volumes. For me I have to deactivate tmeta and tdata from above therefore use lvchange -an volname, note the correct syntax (hyphens converted properly from before if lsblk is used).
- For me it looks like this:
lvchange -an HDD-1/HDD-1_tmeta
lvchange -an HDD-1/HDD-1_tdata
lvchange -an HDD-2/HDD-2_tmeta
lvchange -an HDD-2/HDD-2_tdata
3.) Finally, activate it properly now.
vgchange -ay
For reference:
This is what lsblk shows after boot and before manual activation:

Boot error messages:

After manual activation:
